2 35mm CAMERA BODIES
2.1 What's the difference between Maxxum and Dynax cameras?
Minolta produces cameras designed for distribution in two markets: The US and elsewhere. Cameras distributed in the US are designated Maxxum cameras, and those elsewhere are Dynax cameras. Most people in the States refer to Minolta's AF series cameras as "the Maxxum series" - this FAQ will do the same.
The 000 and xi model range had the same designations in all markets - this is not the case with the si series.
2.2 What Maxxum cameras were/are there and when were they introduced?
Many dates in this table supplied by MML member Peter Hallberg and some from Bo Branten, January 2000.
| AF Bodies in Chronological Release Date Order |
|---|
| IMG | Released | European Name
Generally Dynax | US Name
Generally Maxxum | Japanese Name
Generally Alpha | Canada
Generally Maxxum
|
|---|
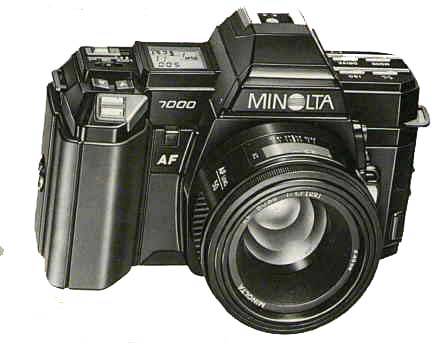
| click | 1985 | 7000 AF | 7000 AF | 7000 Alpha
|
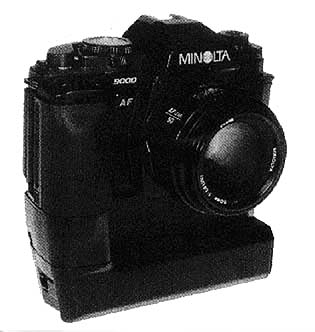
| click | 1985 | 9000 AF | 9000 AF | 9000 Alpha
|
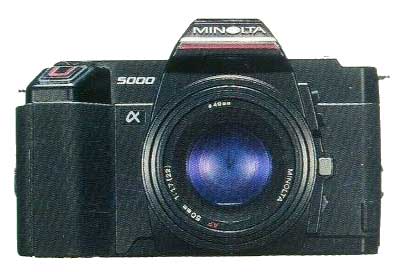
| click | 1986 | 5000 AF | 5000 AF | 5000 Alpha
|
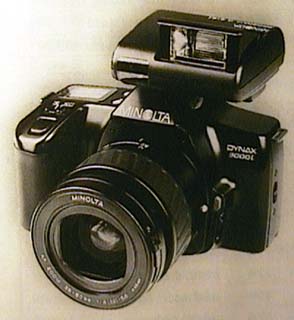
| click | 1988 | 3000i | 3000i
|
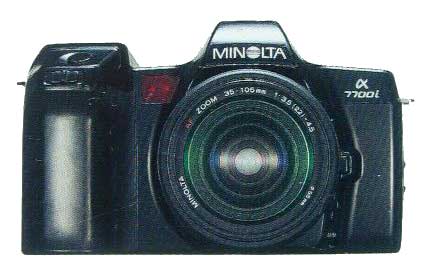
| click | 1988 | 7000i | 7000i | Alpha 7700i
|
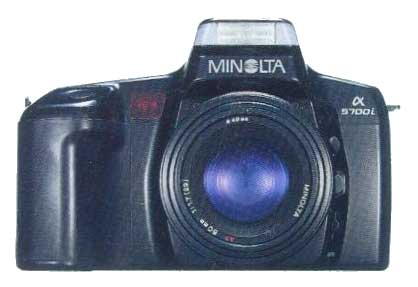
| click | 1989 | 5000i | 5000i | Alpha 5700i
|
| click | 1990 | 8000i | 8000i | Alpha 8700i
|
| 1991 | | SPxi
|
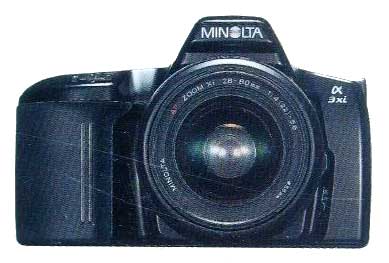
| click | 1991 | 3xi | 3xi
|
| click | 1991 | 7xi | 7xi
|
| 1992 | 2xi | 2xi
|
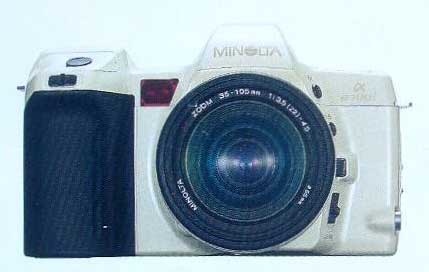
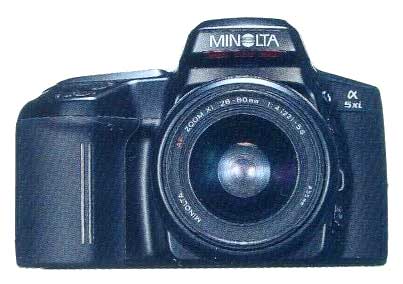
| click | 1992 | 5xi | 5xi
|
| click | 1992 | 9xi | 9xi
|
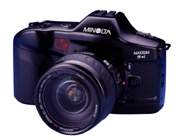
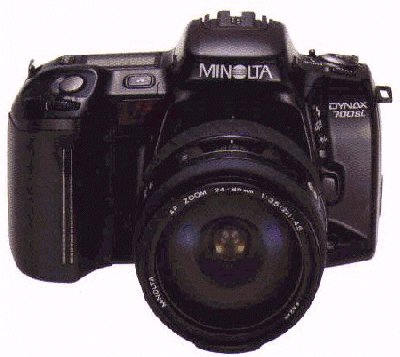
| click | 1993 | 700si | 700si | 707si
|
| click | 1994 | 500si | 400si
|
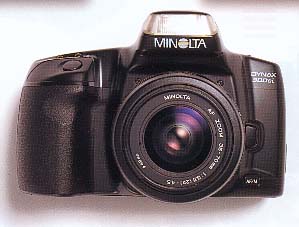
| click | 1995 | 300si
|
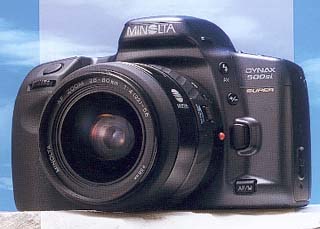
| click | 1995 | 500si Super | 500si
|
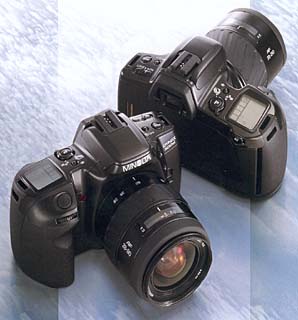
| click | | 600si | 600si
|
| click | 1995 | 600si Classic | 600si Classic
|
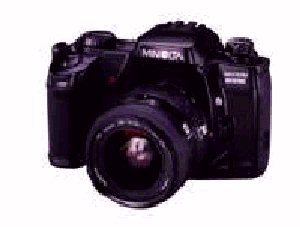
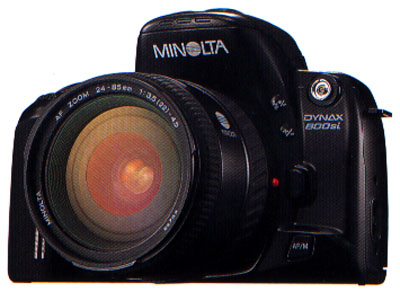
| click | 1997 | 800si | 800si | 807si
|
| click | 1998 | 505si | HTsi
|
| click | 1998 | 505si Super | XTsi | Alpha Sweet
|
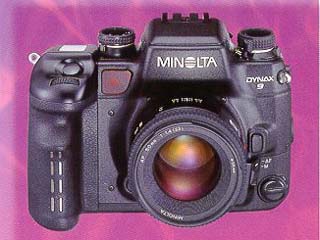
| click | 1998 | Dynax 9 | Maxxum 9 | Alpha 9 | Maxxum 9
|
| 1999 | 303si | QTsi
|
| 1999 | 404si | NYA | | STsi
|
| click | 2000 | Dynax 7 | Maxxum 7 | Alpha 7 | Maxxum 7
|
| 2001 | Dynax 5 | Maxxum 5 | Alpha 5 | Maxxum 5
|
| IMG | Released | European Name | US Name | Japanese Name | Canada
|
|---|
Note that the si series has a fair number of strange combinations of date backs and panorama models, not all of which were available in all markets.
The release dates for the Dynax 9 were Dec 19, 1998 in Japan, and April/May 1999 for North America, plus the announcement on September 15th., 1998 on the European web site a day before Photokina '98 of the specs.
The Dynax 7 was announced in Europe and Japan on 25th August 2000.
XTsi Plus released March 1999: basically the HTsi with the addition of a remote cord plug, wireless remote (a strange move considering the XTsi doesn't have this), and a liberal coat of silver paint. It does unfortunately still have a plastic lens mount [Rob Uchniat (rju@tir.com) from the MML].
The Dynax 5 was anounced late May 2001.
- please email Chris.
2.2.1 Special editions
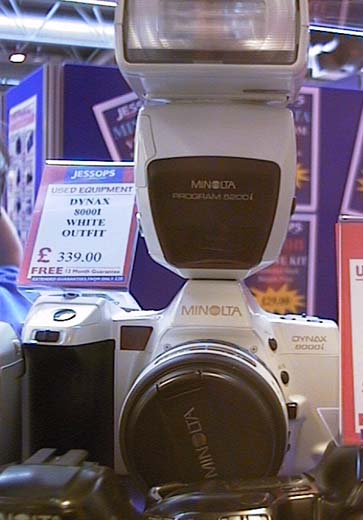
 A special edition all-white 8000i was made, together with a white zoom lens and white 5200i flash; all three sold together as an outfit.
Janusz "Frankie" Franczak (frankie@atcom.net.pl) wrote:
As I know, pearl version of Dynax 8000i was produced between 1989 and 1991 (I thing, that was 1991, but I'm not sure). There was made amount 20000 pcs of "pearl "kits. (The "i" series was introduced in 1988, and when I was in Vienna in December 1992, I saw this camera in shop)
Hoyin Lee, Hong Kong (leehoyin@hutchcity.com) wrote on 13 April 2001:
That special edition 8000i (Alpha-8700i in Japan), sold with a white 5200i flash and a white AF 35-105mm f/3.5-4.5 lens, was released in December 1990 to commemorate the use of a similar Minolta model by Tokyo Broadcasting System (TBS) journalist Toyohiro Akiyama in the Russian space station Mir.
Akiyama, who stayed in Mir for eight days in December 1990, became the first journalist and the first Japanese to go into space. Minolta supplied him with a package of specially produced photographic equipment that included an all-white a-8700i, a 3200i flash unit, and three AF lenses: a 24-50mm f/4, a 35-105mm f/3.5-4.5 and a 100-300 f/4.5-5.6. When Akiyama returned to Earth, his Minolta equipment was left behind for use by the Russian crew who remained in the space station. (Source: Chotoku Tanaka, ed., Space Camera (Tokyo: World Photo Press, 1998), p.143)
As I remember, some time in the early 1990s, Minolta ran a magazine ad that featured this photo of cosmonaut Akiyama floating in Mir holding a bulky all-white Minolta camera.
There was a special, limited edition version of the Dynax 9 called the 9ti (only 40 were imported into the UK) sold at a slight premium to the normal 9. The body made use of titanium instead of some of the stainless steel, which dropped the weight slightly; some of the exterior was grey so its quite easy to distinguish from the all-black normal 9.
2.3 Can you compare these cameras' features?
All Maxxum series cameras are auto focus cameras. They all have automatic exposure as well (in which the camera picks the shutter speed and the aperture setting). AF and AE only work with the appropriate lenses (ie, autofocus lenses designed for the Minolta Maxxum AF mount). A chart showing many of the AF camera's specifications is available.
2.4 What is autofocus?
Autofocus (AF) is just that. The camera has sensors that detect when something is in focus. If it's out of focus, it knows whether the focus is too close or too far. All Maxxum series cameras are AF cameras.
2.4.1 What is predictive AF?
Mostly a marketing ploy, but it does have some good points. Predictive AF anticipates the subject's movement and focuses on that spot even while the mirror is flipping up. Since the focus sensors are not recieving light while the mirror is flipping up, the camera's computer must use its internal logic to try to figure out what the subject is, what its movement patterns are, and where it will be when the film plane is exposed.
2.4.2 What is continuous AF?
Simply that. The AF system continous to focus even though you may or may not have tripped the shutter. This works hand-in-hand with predictive AF to keep a subject in proper focus at all times.
2.5 I'm a new/amateur photographer. What camera should I buy?
This is one of those personal decisions. You should buy what you can afford that has the features you want. Typically, the lower the Minolta model number, the less features it has. Since the entire range of Maxxum lenses can be used on any Maxxum camera (see the section on lenses for information about exceptions to this rule), the camera body is what will limit your mechanical functionality, not the lens. This FAQ cannot begin to tell you which camera is right for what sort of application, but I can say that the high end of each model line is typically for the advanced user. The 9xi is specifically targeted at the professional. The 400si is targeted at the generic amateur photographer, and the 9000 is the collector's classic can't-be-killed camera.
2.6 I'm a professional photographer. What camera should I buy?
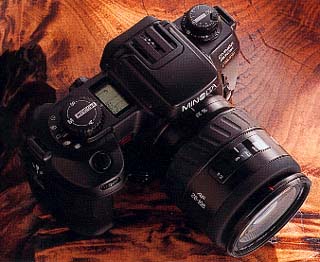
The 9xi was Minolta's flagship professional model camera. The 9000 is a bit older, but also a professional model. Currently, the top three pro choices are the 9xi, the 9000, and the 800si (which is functionally the same basic camera as the 9xi, but without the rugged body design). Due to arrive in the shops early 1999 is the Dynax 9, which will have probably the most rugged build of any current production SLR; stainless steel features heavily in its design. A vertical grip, alternative focussing screens and two different optional backs will be available.
2.7 Do any Maxxum cameras have mirror lock-up?
No. Mirror lock-up is the ability to flip the camera's mirror up before the exposure is taken, thereby lessening the vibration caused by the mechanism. There has been talk of a Mirror Lock-Up program card being technically feasible (this talk occured on the MML), but Minolta hasn't done anything towards creating one. They claim that the mirror shake has all but been eliminated in their newer cameras due to mechanical improvements.
The new Dynax 9 has a mirror pre-fire on the 2-second mode of its self timer - the mirror is flipped up immediately the self timer is started.
2.8 Do any Maxxum cameras have depth of field preview?
Yes. The 9000, the 9xi, the 600si, 650si, 700si, 800si and Dynax 9 all have DOF preview buttons on the body. On the 9000, it is mechanical and lockable (you can take a picture while the DOF preview is activated). On the others, it is electronic and not lockable. Since the electronic version stops the aperture down _and_ resets the blades (it basically takes an exposure without opening the shutter) there is a rather large noise associated with this action. The 9000 does not suffer from this as the lever is simply a mechanical stopping down of the lens.
2.8.1 How can I do DOF preview on a non-DOF preview camera?
Most fixed-focal-length lenses have DOF scales on them. At a given aperture, once the lens is focussed, the front and rear distances that will be in focus are designated on the lens barrel. See your lens manual for more info. You can also use a DOF chart which shows DOF for a combination of focal length, subject distance, and aperture settings.
2.9 How do I do multiple exposures?
On most i, xi, or si series camera, you can do multiple exposures with the Multiple Exposure Program Card from Minolta. The 9000 has its own mechanism for doing multiple exposures. If your camera doesn't take program cards, you can use the "poor man's" multiple exposure trick. The exceptions are the 600si, 700si, 800si (up to 9) and Dynax 9 (exposures up to 9 counted, but can take more on a single frame).
2.9.1 Poor man's multiple exposures
This involves carefully positioning the film before you load it, and marking what sprocket is on what hole. You then shoot your film for the first exposure normally. Rewind the film, get the leader out, and reposition the film in the same way that it was originally loaded. Hit a the shutter release with the lens cap on (in a dark room with the minimum aperture and the fastest shutter speed if you're paranoid) until you're back to the same frame that you want to do a second exposure. Take the second exposure. You can do this as many times as you like but obviously, it's tedious and error prone.
2.9.2 Multiple exposures on the 9000
On the 9000 there is a "multiple exposure button" just under the wind lever. If you press this when winding then the film is not advanced but the shutter is cocked. It works with motor drives too. (the 9000 is the only manual advance Maxxum).
2.9.3 Multiple exposures on the 9xi
On the 9xi, you can program a button to be "don't-advance-the-film" button.
2.9.4 Multiple exposures on the 600si
You can program from one to nine exposures on the same frame.
2.9.5 Multiple exposures on the 700si
On the 700si, you can take two exposures on the same frame (but not more) using the built-in multiple exposure button. You can also use the multiple exposure card. There is also a trick you can use:
Put the 700si into multiple-exposure mode and take the first shot. Then turn the camera off and back on again. Now either hit the P button and then set up your camera as needed, or put your camera back into single exposure mode and turn it off then back on again. You can now go into multiple-exposure mode again and take the second shot. Repeat this process until you have taken as many shots as you desire.
Another method:
Date: Thu, 22 Apr 1999
From: Steven Sharlow (sharlow@uslink.net)
When you want more than two multiple exposures with the 700si
do the following:
1) set multiple exposure in your memory function,
2) after you shoot the first shot push memory function.
You can shoot as many as you want this way.
2.9.6 Multiple exposures on a 800si
The 800si has the ability to take up to 9 exposures on one frame.
2.9.7 Multiple exposures on the Dynax 9
- Turn the drive mode lever to ME
- ME appears in the data panel instead of the current frame number
- Take the first frame
- M2 appears
- Take as many additional frames as you want. Shots up to 9 on the same frame are indicated, but an unlimited number can actually be taken
- Cancel Multiple Exposure by selecting any other drive mode.
2.10 What are program cards?
The i and and some of the xi series (except for the SPxi, the 2xi, the 3xi) all take programmable function cards, plus the 700si which has slots for two cards. These are chips in a plastic case the size of a half stick of gum that you shove into the camera body. Each one does something different, although Minolta tries to make some bucks by doing the same basic thing on different cards. The 800si and Dynax 9 do not take program cards.
2.10.1 Cards on the 700si
| Card | Notes for
use with
700si | Additional Note for Use with Camera Function
|
|---|
Exposure
Bracketing | Double
Exposure | Memory | AF
Button
|
|---|
| Travel | 1,2 | O | O | 21 | 27
|
| Child | 3 | O | O | 21 | 28,29
|
| Sports action | O | O | O | 21 | 30
|
| Sports action 2 | 3 | O | O | 21 | 29,30
|
| Portrait | O | O | O | 21 | O
|
| Auto depth control | 2 | O | O | 21 | 27
|
| Closeup | O | O | O | 21 | O
|
| Panning | 4 | - | O | 21 | O
|
| Background priority | 5 | O | O | 21 | O
|
| Intervalometer | 6 | - | O | O | O
|
| Multiple exposure | 7,8 | - | X | 22 | O
|
| Multi spot memory | 9,10 | O | O | 23 | O
|
| Highlight/shadow control | 9 | O | O | 23 | O
|
| Exposure bracketing | 7,11 | - | X | 24 | O
|
| Flash bracketing | 7,12 | - | X | 25 | O
|
| Bracketing 2 | 13 | - | X | 26 | O
|
| Data memory | 7,14 | 19 | 20 | O | O
|
| Data memory 2 | O | 19 | 20 | O | O
|
| Fantasy effect | 15 | - | O | 21 | 27
|
| Fantasy 2 | 16 | - | O | 21 | 31
|
| Auto program shift | 7,17 | - | X | 21 | O
|
| Auto shift 2 | O | - | X | 24 | O
|
| Custom function xi | 18 | O | O | O | O
|
| Key:
| O Can be used
X Cannot be used
- Cannot be used; card function overrides the camera function.
"Card" blinks on the body data panel. To use camera function,
turn off the card or remove it.
Numbers 1 to 31: can be used with the conditions listed below.
|
- ASZ (Auto Standby Zoom) will not function with the 700si
- Release -priority mode is not recommended.
- The eye-start switch must be set to "ON" for APZ (Advanced Program Zoom) to operate.
- The metering index can be used to monitor your panning skill. It the indicator is to the + side, tracking is smooth. If the indicator is to the - side tracking is not smooth; you must keep the subject within the focus area.
- The eye-start switch must be set to "ON".
The metering index can be used to select the background sharpness. If the indicator is to the + side, both near and far subjects should appear sharp in the final image.
- Do not press the depth-of-field button while the card is operating.
- The 700si does not have an up/down control. Turn the front control dial to make card adjustments.
- The 700si does not have an aperture-setting button. Therefore, when the camera is in M mode and flash is off, the aperture is fixed for fade-in and fade-out.
- Spot metering is fixed when this card is inserted.
- If Eye-Start is on, the number of areas measured will appear in the body data panel when you take the camera away from your eye. If Eye-Start is off, they will appear when you remove your finger from the spot button.
- Flash cannot be used with this card. Make sure the built-in flash is down or program flash is off.
The 700si does not have an aperture-setting button, therefore the aperture is fixed when bracketing in M mode.
- For the flash bracketing card to operate, the flash must fire. In P, A, and S modes, when the built-in flash is down, "On FL" will blink in the body and viewfinder data panel. Raise the built-in flash or attach an accessory flash.
If Eye-Start is on, the exposure adjustment and frame number for the next frame will appear in the body data panel when you take the camera away from your eye. If Eye-Start is off, they will appear when you remove your finger from the shutter-release button.
- In flash-bracketing mode, the flash must fire for this card to operate. "ON FL" will blink in the body and viewfinder data panel when the built-in flash is down. Raise the built-in flash or attach an accessory flash.
If Eye-Start is on in flash-bracketing mode, the exposure adjustment and frame number for the next frame will appear in the body data panel when you take the camera away from your eye. If Eye-Start is off, they will appear when you remove your finger from the shutter-release button.
- Shutter speeds of 1/200 sec. will be stored as 1/180 see.
- For optimum results using this card, do not use release priority.
- Release priority mode is not recommended. If it is set, you may not achieve the fantasy effect if you press the AF button while taking the picture.
- You cannot change the shutter speed and aperture combination. Pa/Ps will not operate with this card.
- The 700si does not have a dial function selector (FUNC button), use the exposure mode button instead to select the display.
With the 700si, exposure compensation is limited to +/-3.0. Therefore, when you set exposure compensation to +/-3.5 or +/-4.0 in the personal program mode, the camera will be set to +/-3.0. When you select the metering method in personal program mode, select either honeycomb pattern or center-weighted average metering.
- The exposure adjustment for the bracketing series will not be stored, nor will it be added to any exposure compensation already set.
- Only the data for the second exposure will be stored.
- The only exposure mode which can be stored and recalled is P mode.
(When the card is on, P stands for the card's program, when the card is off, it stands for the camera's program.)
- Double-exposure mode cannot be stored or recalled.
- The only metering mode which can be stored and recalled is spot metering.
- The only drive modes which can be stored and recalled are continuous advance and self-timer.
- The only drive modes which can be stored and recalled are single-frame advance and self-timer.
- In exposure-bracketing mode, the only drive modes which can be stored and recalled are continuous advance and self-timer. In flash lash- bracketing mode, only single frame advance and self-timer can be stored and recalled.
- In single-frame-advance mode, only one frame can be exposed while the AF button is pressed. You have to remove your finger from the AF button before you can take a second picture. If you select continuous drive mode, you can continue to take pictures while pressing the AF button, but they may be out of focus.
- When continuous drive mode is selected, continuous AF is set. Locking focus by pressing the AF button is not recommended.
- APZ stops when the AF button is pressed.
Turning the front or rear control dial changes the APZ program number. It will also be changed when you select a focus area by pressing the AF button and turning the front dial.
- Focus mode is set to continuous AF. Locking focus by pressing the AF button is not recommended.
- In focus-shift mode, only one frame can be exposed while the AF button is pressed. You have to remove your finger from the AF button before you can take a second picture. If release -priority mode is set, you may not achieve the fantasy effect if you press the AF button while taking the picture.
2.11 What batteries should I use?
There are five types of photographic batteries that you might need with a Maxxum camera: AAA, AA, CR2, 2CR5 or CR123A. The former two are typically alkaline or NiCad (rechargable) batteries, the others are usually lithium-based, although there is now a rechargeable 2CR5. With regards to the alkaline or NiCad batteries, what you pay for is what you get. As for the lithium batteries (which the i, xi, and si series use) different people report different battery types with different degrees of success. From the MML, the worst seems to be Duracells, and the best seem to be Panasonics.
For a list of equipment and what batteries are used, see the separate Batteries FAQ.
2.11.1 My 7000 refuses to work even with new batteries. What gives?
The Maxxum 7000 has two sets of batteries. The AAA (or AA if you are using the extended battery pack) which powers the AF, AE, and motor drive, and an internal lithium battery. The internal battery is behind the silver plate that you see when you remove the battery pack. Minolta claims that when this battery starts to go dead, that you have to take your 7000 to a Minolta dealer and have them replace the internal battery, but if you're careful, you can replace it yourself by removing this panel.
Back to AF FAQ index.